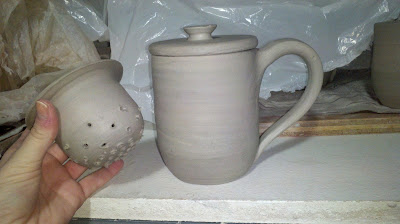
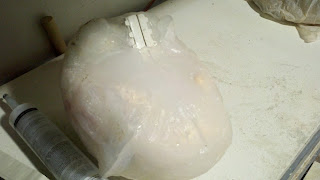
We shall see if it works out. I will post finished pictures once it is glazed!
Sunday, February 24, 2013
More Tea-related Business
As I continue on my quest for amazing tea, I have decided to make tea mugs with lids. And strainers! It is incredibly tedious and annoying, I have to admit. It took me ten minutes to poke tiny little holes in the strainer piece and then I will have to fill the holes with toothpicks to hold to holes open when I glaze it. But...worth it. I think it turned out rather nice for a first shot at it. Mmhmm mmhmm.
Thursday, February 14, 2013
Trying my hand at something new....
I am not usually one for making plaster molds. It's tedious, frustrating, and I am frequently impatient. However, I got my hands on a brain model and would just love to have porcelain brains hanging around in some gallery. So I set off to make a brain mold. I decided to do it the long and safe way.
Lo and behold!! A plaster brain. However....not all was well....
So I wrapped the brain in all-purpose silicone. Before that, the brain was coated in a vaseline like wax, so the silicone would slip right off.
I then built up clay around the silicone mold to make a mother mold. Since silicone is so flexible, it has to have a plaster outer coating to prevent expansion of the mold. So I started to pour plaster.
And poured.....
And sealed.....
And poured again.
So I finaly had a mother mold! I pulled out the plastic brain, sealed the mold back up, and poured it full of pottery plaster.
Lo and behold!! A plaster brain. However....not all was well....
The top turned out great.
But the bottom didn't fill up! Ooops. My pour hole was lower than the top of the mold was.
It created a very flat bottomed brain.
Plus....I didn't get it sealed up quite right, so there was a horrible seam line down it as well. But I love it anyway.
I have resealed the brain. Poured a tighter mold. And added more pour spouts so I can fill every aspect of the brain.
And by tomorrow, we will see how it went. It's a work in process and I will keep updating as I go along.
Friday, February 1, 2013
Beautiful Burgundy
Subscribe to:
Posts (Atom)


